
Learn iPad Lettering + Calligraphy
In this guide, we have amassed a ton of useful resources and tips to help you get started with iPad calligraphy!

1. Apps + Brushes
iPad Lettering is an quickly growing form of lettering and calligraphy that emerged after the release of Apple Pencil and iPad Pro. The pressure sensitivity of Apple Pencil and the fantastic selection of digital illustration apps made lettering on iPad possible and a user-friendly experience.
Learning calligraphy on iPad isn't only fun, versatile, and accessible, it's also a great way to learn lettering and calligraphy with real life tools. The skills you'll learn with iPad calligraphy can translate into brush calligraphy and pointed pen calligraphy later on.
Hardware
Apple Pencil + iPad Pro
Some lettering artists invest in additional tools, such as matte screen protectors, but that's up to you.
Apps
Essential: Procreate
There are a ton of great illustration programs available on the App Store, but when it comes to iPad calligraphy, you're going to have to get Procreate. Procreate is $10, but it's outstandingly powerful.
Paper by FiftyThree
If you're not into calligraphy and more into the illustration type of lettering, Paper is a simple to use, intuitive illustration app. It's also free. Below are some examples of typography created with Paper.
iOrnament


iOrnament allows you to play with cool effects and drawing with symmetry. Lettering artists love messing around in this app. It's $4 on the App Store.
The rest of this tutorial involves Procreate exclusively.
Feel free to experiment with lots of apps, but when it comes to creating iPad calligraphy and working with pressure sensitive brushes, there's nothing that comes close to Procreate.
Brushes
The reason Procreate is such a standout app is because users can edit and create their own brushes, as well as import ones created by others. There's actually no real default brush in Procreate that's designed for calligraphy, which is why you'll have to find one that is and import it into your brush library.
Fortunately, we have you covered.
For starters, you can grab a free lettering brush called "Everyday" over on the Freebies page and continue following along with these tutorials. When you're ready to stock up, we sell a ton of Procreate brush kits for lettering in the Shop. There are a lot of really fun and interesting brushes to experiment with, so be sure to check them out.
If you need help installing brushes, check out our Installation Guide.
2. Get Lettering
Learning digital lettering on iPad is easier than real life forms of calligraphy. Applying pressure to a brush marker or pointed pen nib takes a lot more finesse and practice than it does with Apple Pencil. It's easy to press your Pencil hard into the screen! What you need to focus on learning is timing : when to press hard and when to let go.
You can choose your route of learning when it comes to iPad calligraphy.
First, take this mini quiz and evaluate where your skills are at.
1. Are you familiar with the basic principles of calligraphy, such as upstrokes and downstrokes?
A. No
B. Somewhat
C. Yes
2. Do you know how to apply pressure to your Apple Pencil in order to create thin and thick strokes?
A. No
B. Somewhat
C. Yes
3. How much experience do you have with other types of calligraphy? (Brush lettering, pointed pen calligraphy, watercolor calligraphy, etc.)
A. No experience.
B. Some experience, I've tried it before.
C. A lot of experience, I know how to do it.
4. How familiar are you with the cursive alphabet?
A. Unfamiliar
B. Somewhat familiar
C. Familiar
Mostly A's: Start with foundational strokes and drills.
If you answered mostly A's, that means you're either new to calligraphy or haven't learned that much yet. You should probably invest some time in practicing basic strokes. (This is the recommended starting place for all beginning brush letterers.)
-
Visit our Brush Lettering guide to learn more about the 8 foundational strokes, as well as drills to try.
-
For basic strokes worksheets, you can DOWNLOAD THESE and import them into Procreate as images. (Use an 8.5 x 11 artboard.)
Mostly B's: Start lettering the alphabet with practice guides.
If you answered mostly B's, you have some idea of calligraphy, but you aren't completely confident in your skills yet. Learning through practice guides is popular approach to iPad lettering; it's a great way to build muscle memory and learn how to write the whole alphabet from scratch.
-
Stay tuned: comprehensive alphabet practice guides are coming soon to the Shop.
-
Download this Brush Lettering Alphabet Reference Guide. This printable reference guide features a red and blue calligraphy alphabet; see which basic strokes compose each letter, plus get a full page of tips to improve your lettering in general. If you want one that you can import into Procreate as an image and trace (just lower the opacity), download THIS ONE.
-
Download this iPad Lettering Example Alphabet. Import it into a Procreate artboard as an image, lower the opacity, and trace over the letters in a new layer. Repetition is important, so once you've traced it, clear the layer and start again!
-
Grab our free Guidelines brush! This brush allows you to fill your page with lines and keep your lettering aligned. We recommend creating the lines on a separate layer so you can hide them when you finish. Resize the brush for bigger or smaller lines. (The Guidelines brush matches the lines on the Brush Lettering Alphabet Reference Guide mentioned above, making it easy to follow along!)
Mostly C's; Freewheel it.
If you answered mostly C's, you're pretty experienced with calligraphy. You'll be able to apply the skills you already know to the iPad.
-
Learn through experimentation: try to create a piece, play with different brushes, explore what you can do with the app.
-
Grab our free Guidelines brush!
-
Visit the Shop and grab some new brushes to make your lettering more interesting.
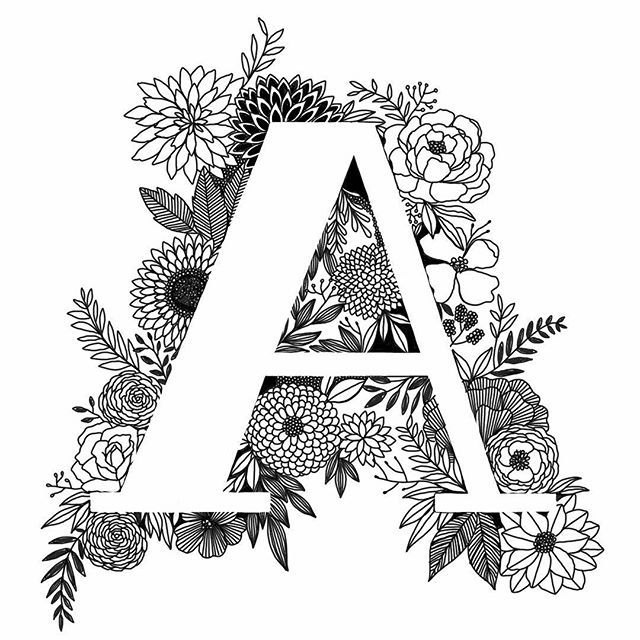
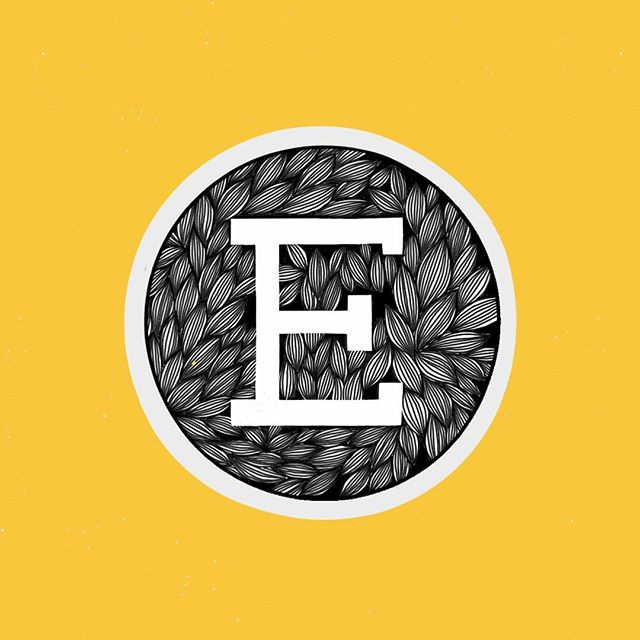
Lettering Samples made with Everyday freebie brush for Procreate.
3. Techniques
Coming Soon
Learn to work with layers and create a ton of cool lettering effects, including outlines, shadows, ombre, and patterns. We also plan on covering different calligraphy styles, including flat pen lettering. Check back soon!
4. Resources
In case you missed any of these free Procreate resources mentioned throughout the guide, they're right here for you to download and use. (Personal use only.)


Share this Guide on Pinterest
Fill out this mini survey to let us know what you thought of our Learn iPad Lettering guide and offer suggestions of what else you would like to see. Your feedback will help us improve this free resource.